One of the blogs I read all the time is The Year of Mud. There is a post on there, among a million others, that is how to build your own Japanese plaster hawk.
The weather has been crappy, the days have just started to turn towards getting longer and that brings me hope, even if it is only by the second currently, and my motivation is limited.
I had some alone time in the house and big aspirations of really getting that plaster up on the wall. I’m a bit handicapped at the moment with not having the right tools and the cash to get them, then I remembered that blog and set about perusing the stuff in the garage to see if I had what I needed.
I DID!
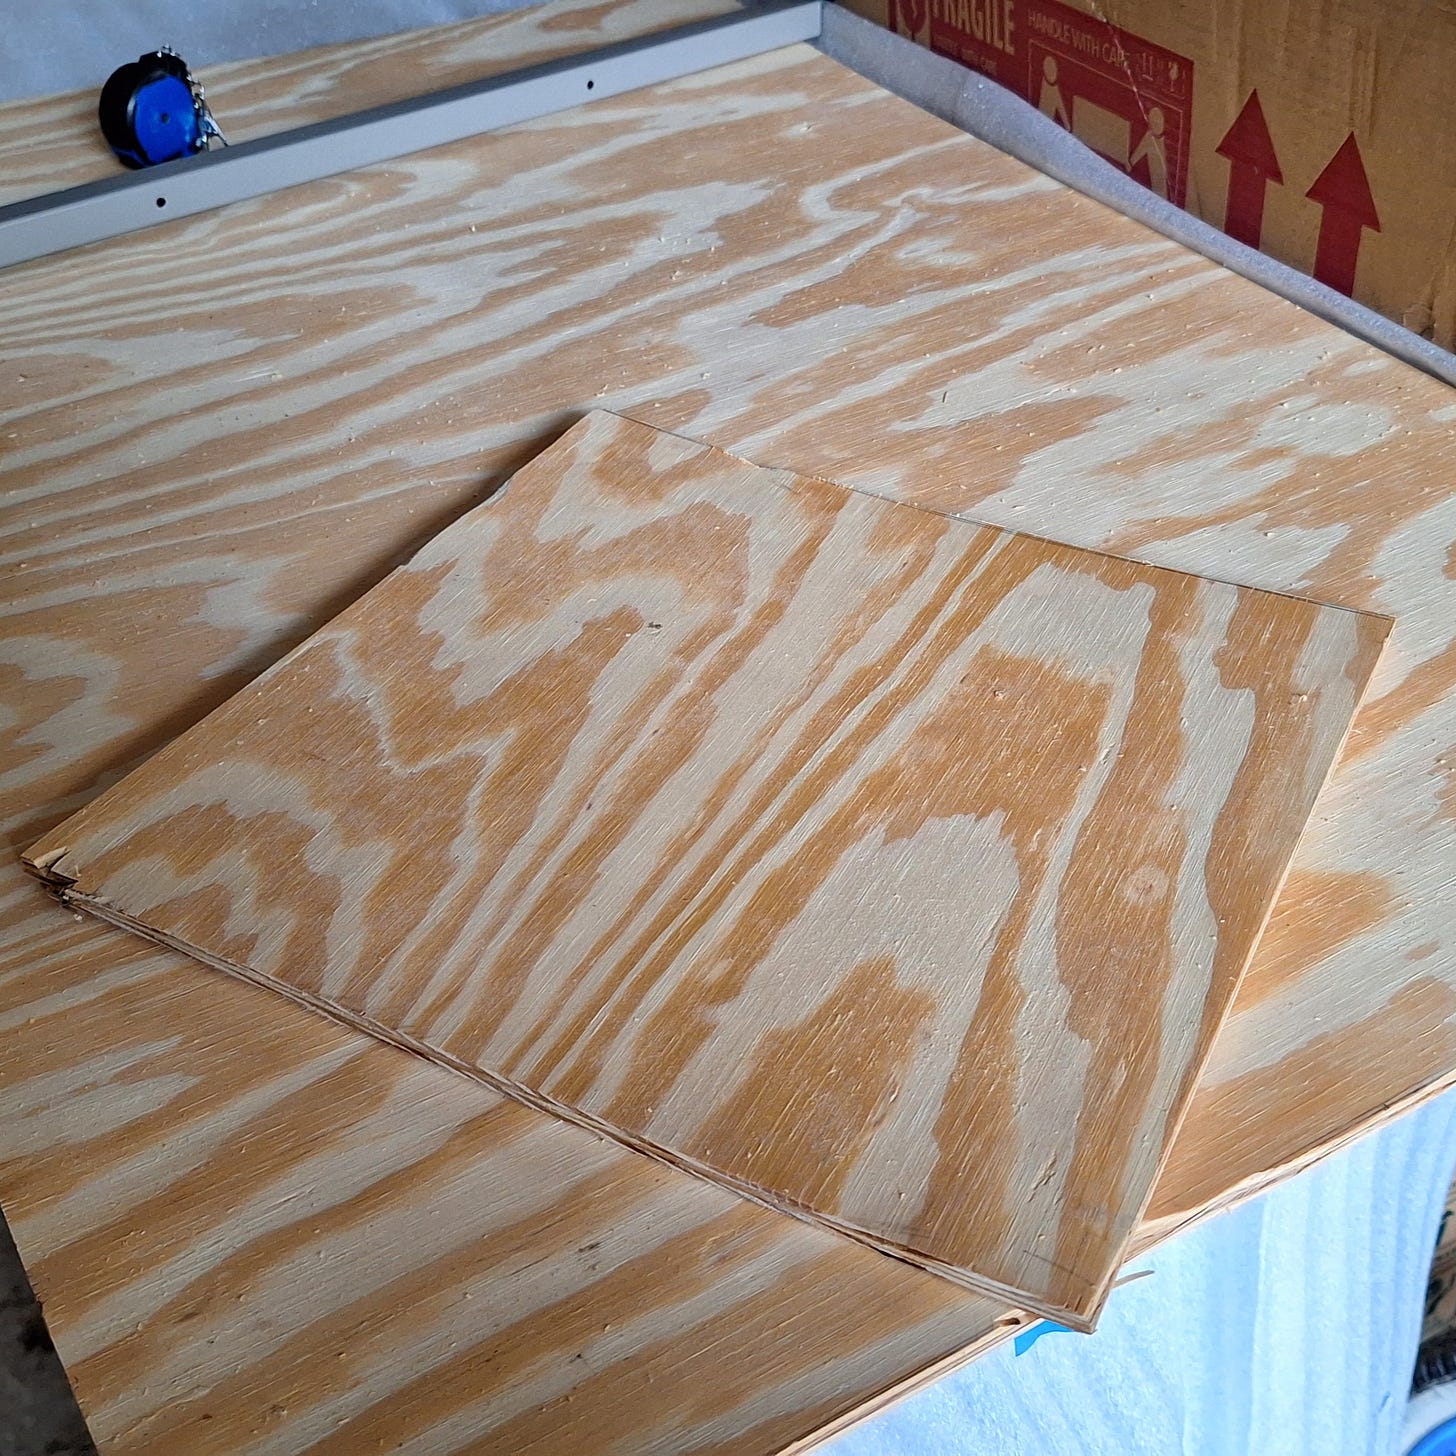
Buried in the back of the garage, there was some 1/4” plywood with a slight bend in it, and in the old trash can by the door where I keep things like fence posts, random bits of wood, stakes and brooms, I found two old 1/2”x 1-1/2” pieces that were sufficient for the handles.
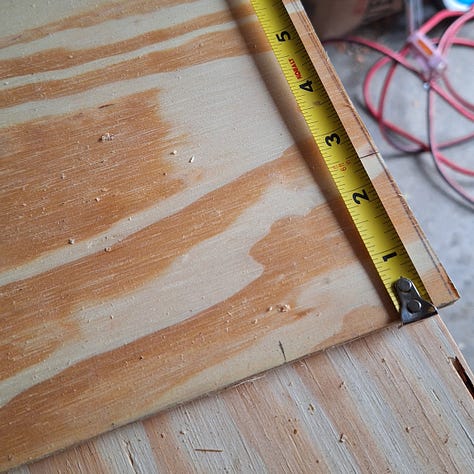
Of course, I forgot to take pics until I was well into it so here is where I started: I measured out 12-1/2” down from the short edge since this piece was exactly 24” across.
That 24” by 12-1/2” piece would be cut in half and I’d end up with two 12” by 12-1/2” boards. Might as well make two, amiright?
According to the blog, 12” by 12-1/2” is ideal. I’m not here to reinvent this thing and I can follow directions reasonably well, so 12” by 12-1/2” it is. I’m using this giant sized Skilsaw circular saw that is WAY too big for this endeavor but I use what I have.
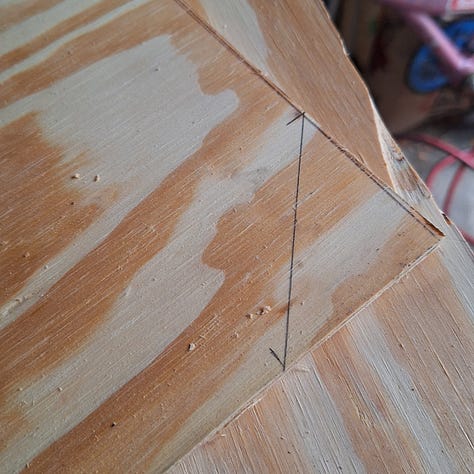
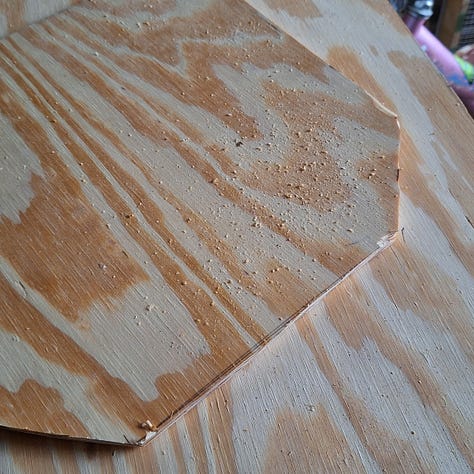
Next step according to the blog was to taper the edges that will rest against your arm or body. It didn’t specify which edge should have the angled corners, the 12” or the 12-1/2” so I winged it.
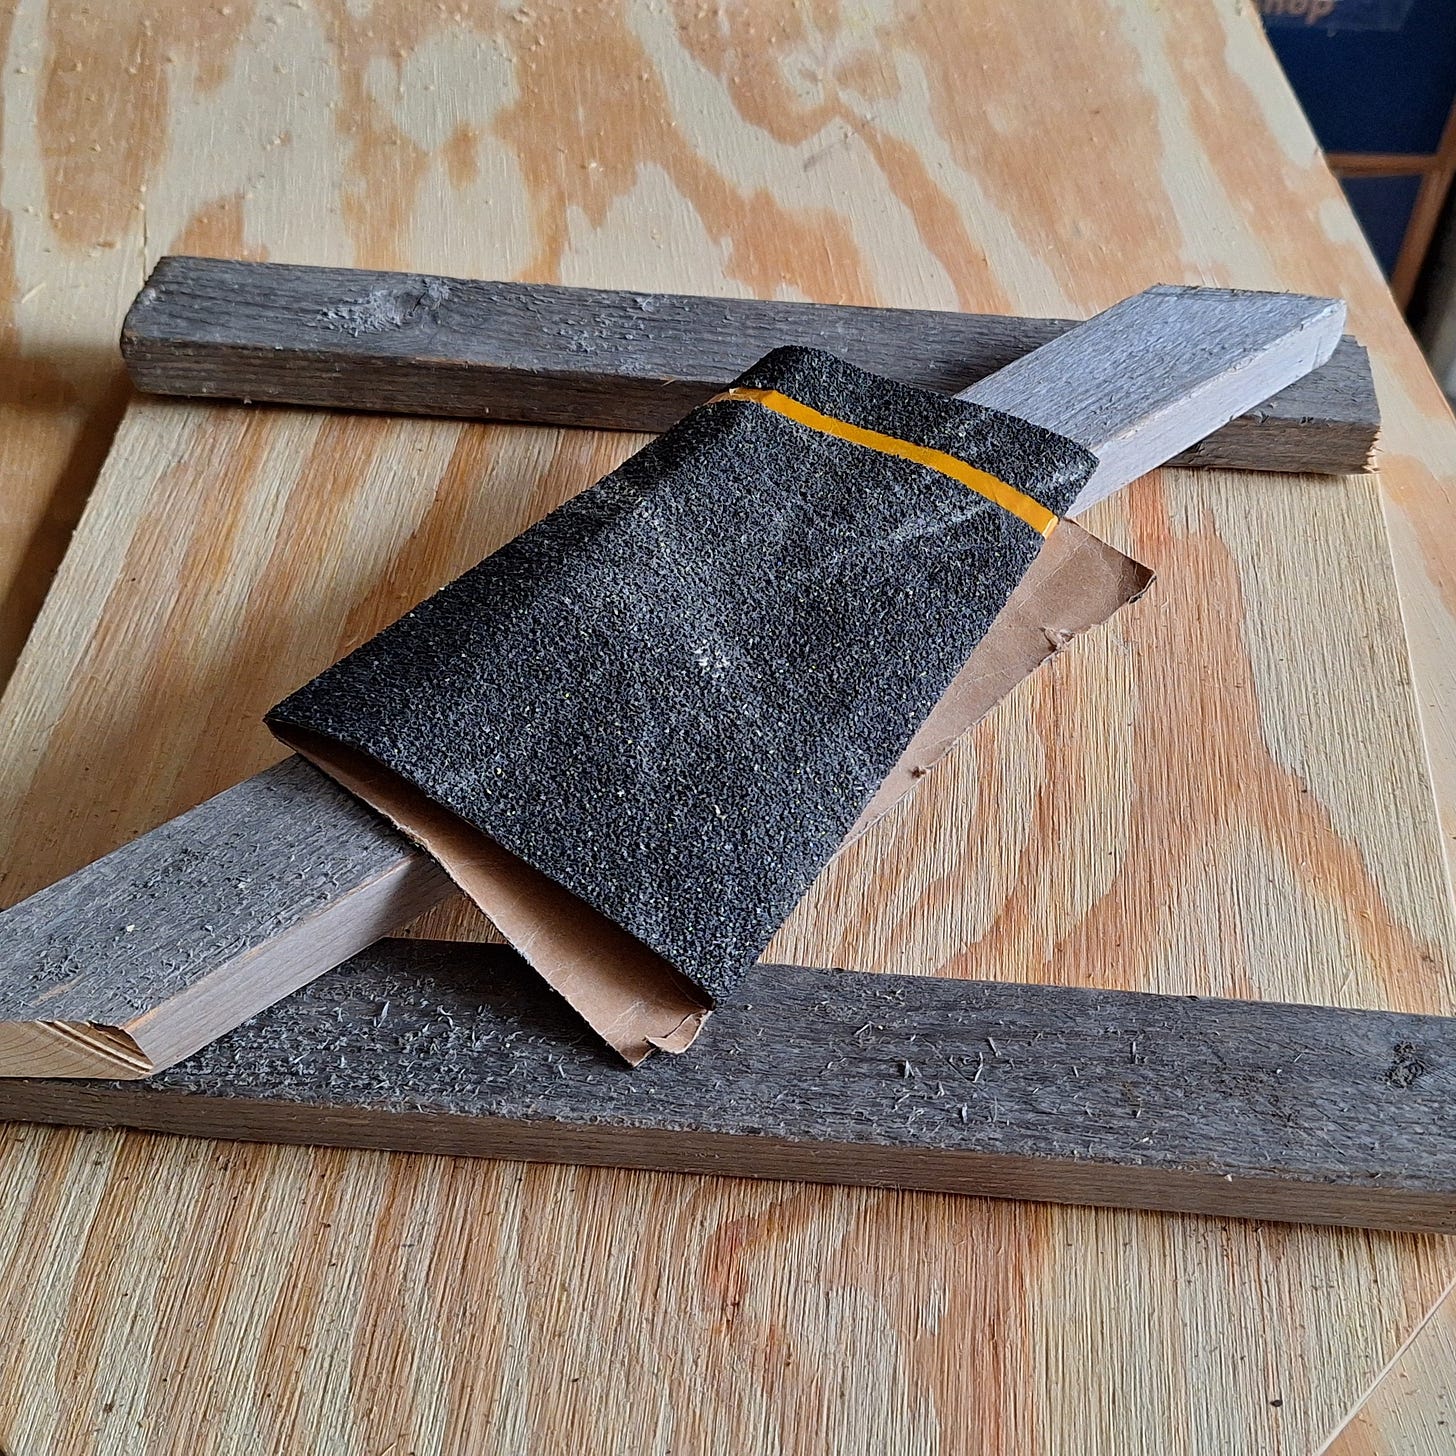
Next, I dug out those 1/2”x 1-1/2” pieces. They were tomato stakes years prior and now they will be handles on my hawk. I had to sand them down a bit and the only sandpaper I currently have is the kind you put on a rotary band sander. (Is that the right name?) Anyway, it’s 60 grit, but it was enough to smooth off the rough stuff.
I cut one stake the same width as the board twice to make the crossbars. I just eyeballed the one on the diagonal. The cross piece doesn’t have any specific dimensions to it. I laid it down on top and drew some cut lines. Using that way too big saw, I cut everything and laid it out on the vanity* that is currently in storage in the garage.
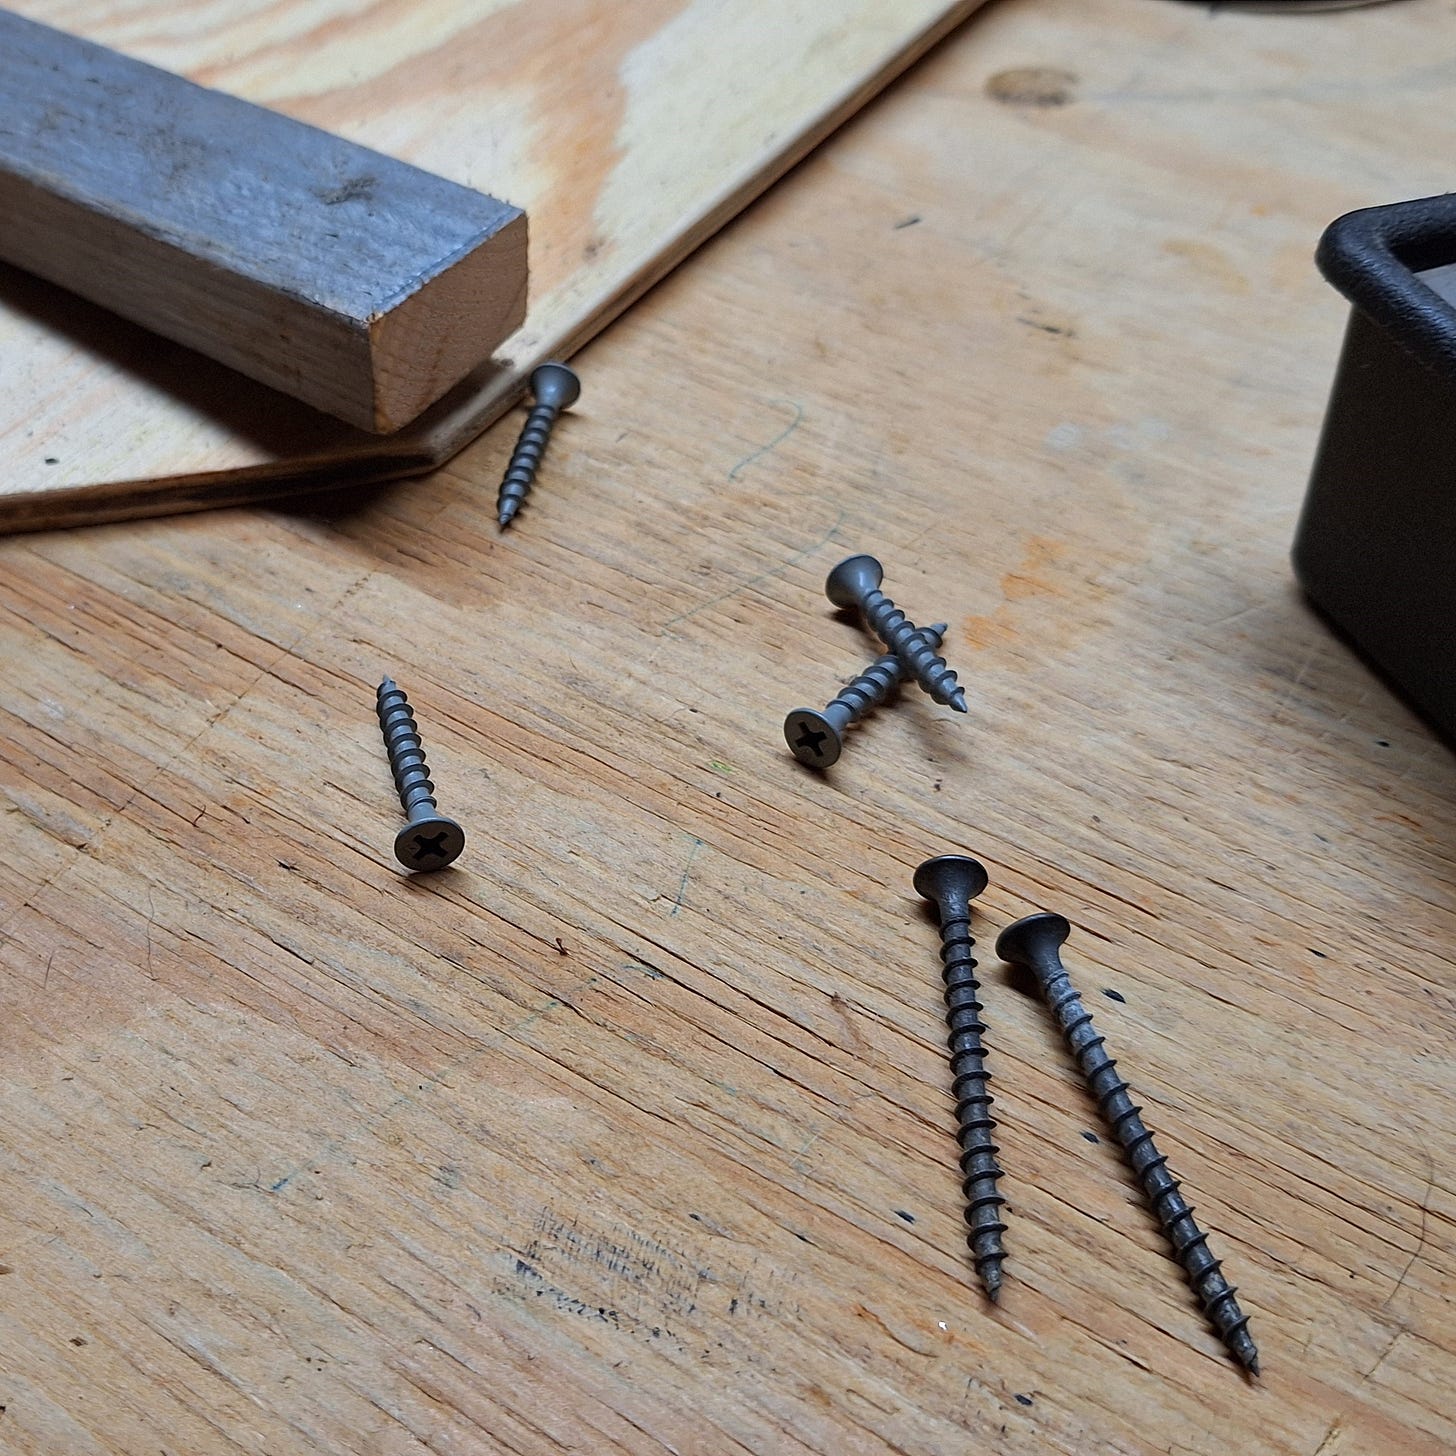
INTO THE HOUSE! That’s where the screws currently are along with a Craftsman driver I was gifted. Digging around in the toolbox, I found what look like drywall screws.
I could tell these would be too long but this is what I have and this is what will be used.
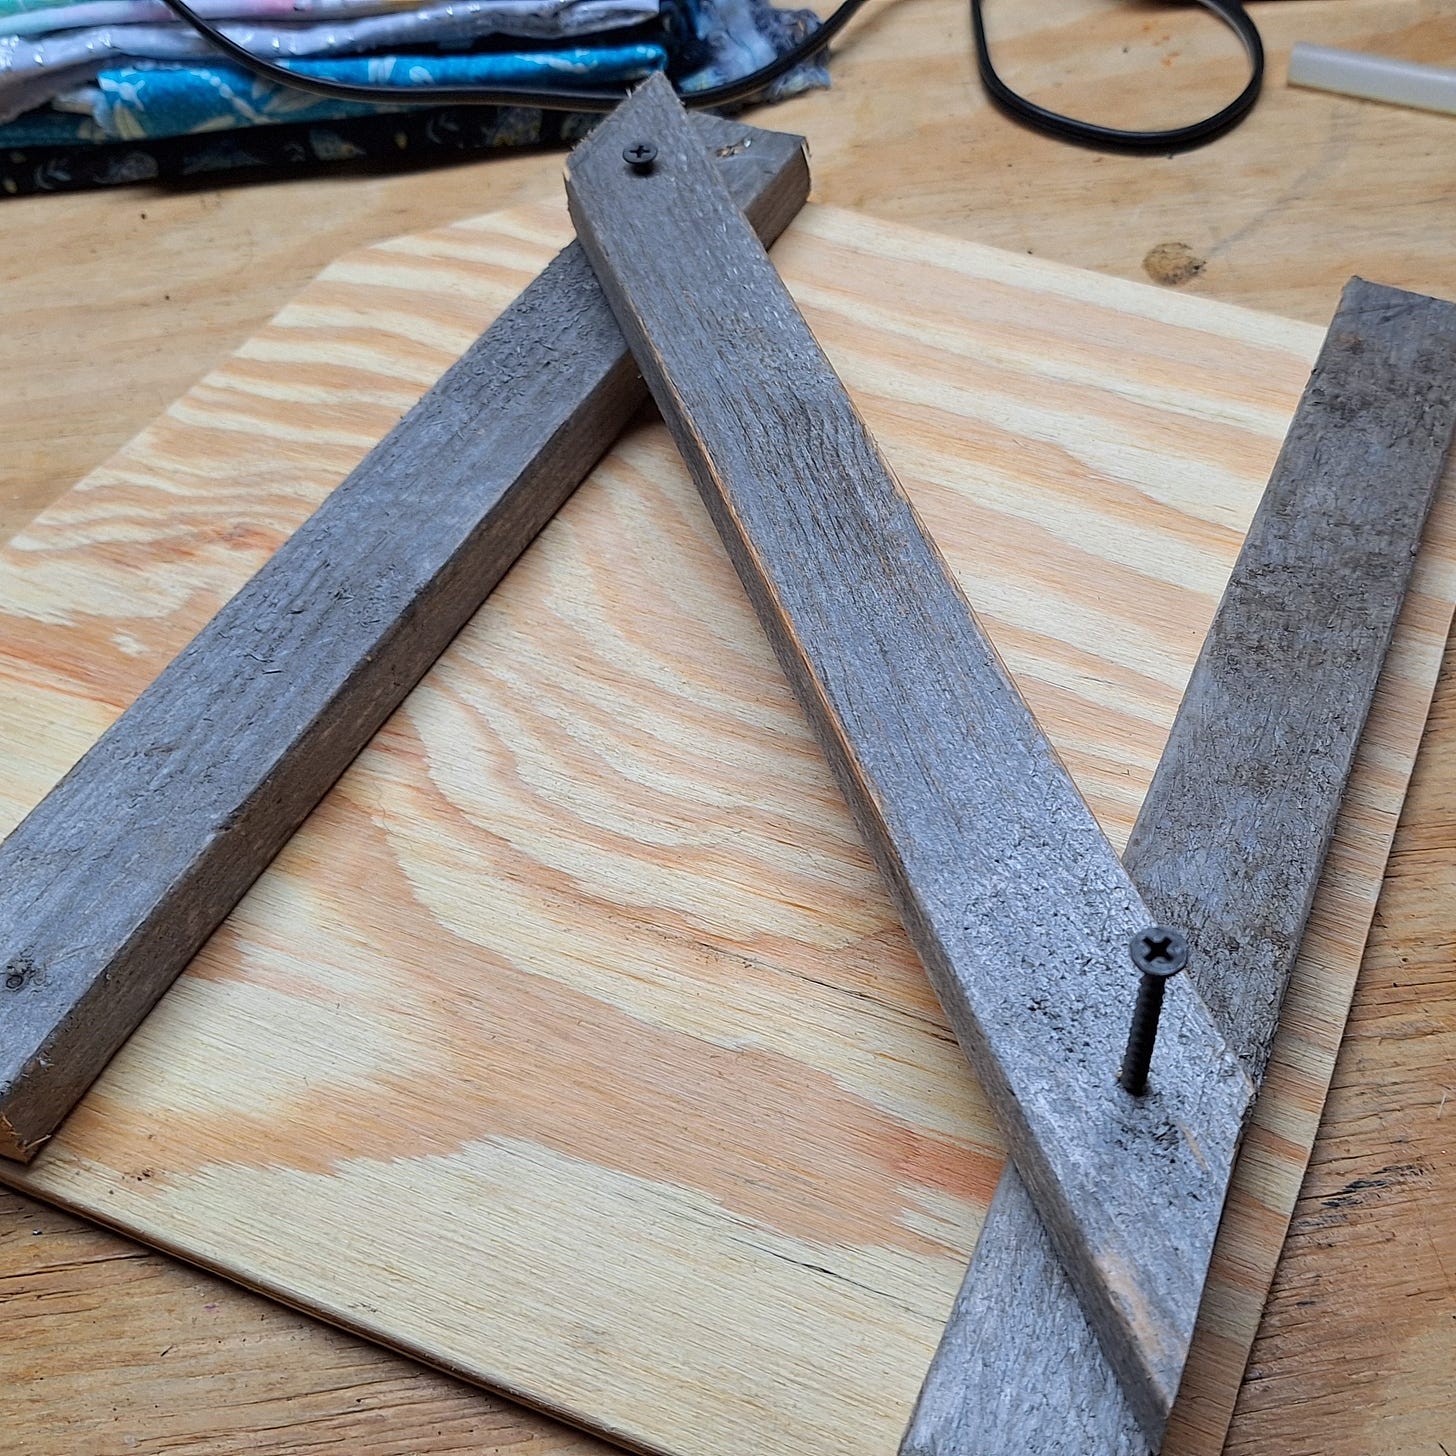
I tacked the cross bars with the long ones first to keep them in position. Then flipped it over and then used the shorter ones through the top of the hawk into cross bars. Because the screws were about 1/4” too long, I had to whack down the sharp points with a hammer.
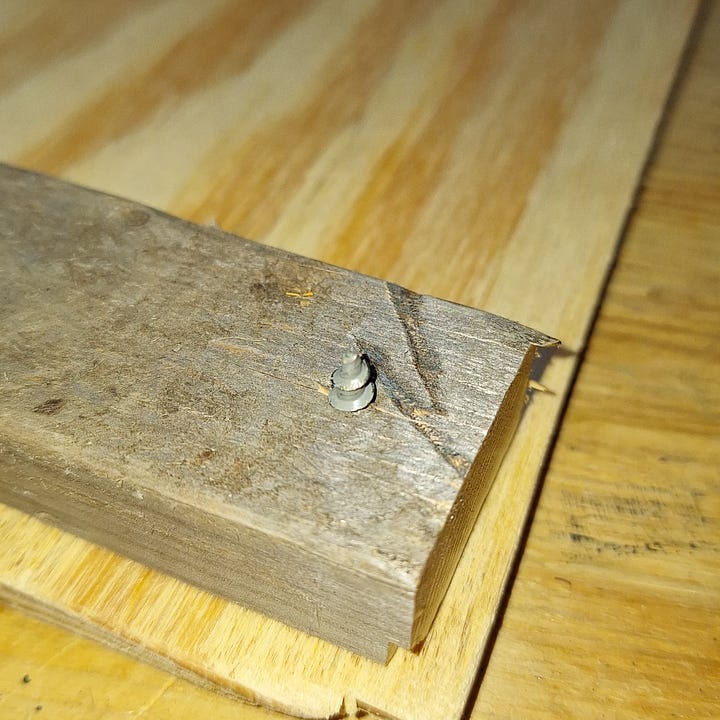
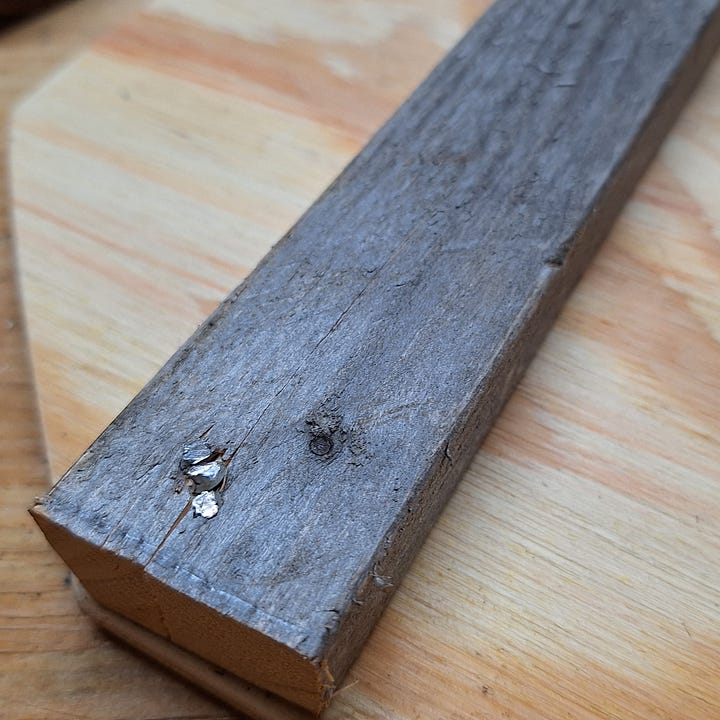
I knew the same thing would happen with the screws that were to keep the handle on the cross bars but since I think the idea is to keep the surface of the hawk as smooth as possible for the trowels, I just didn’t sink them all the way in. These are less likely to draw blood than the other ones are.
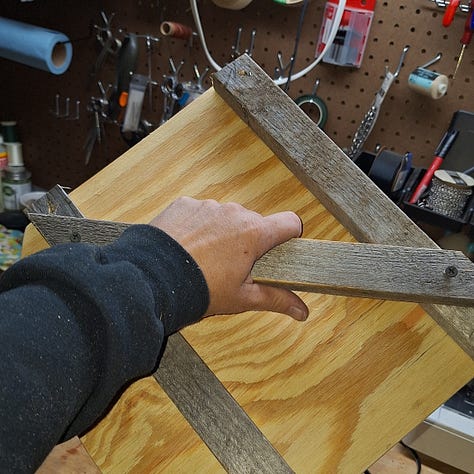
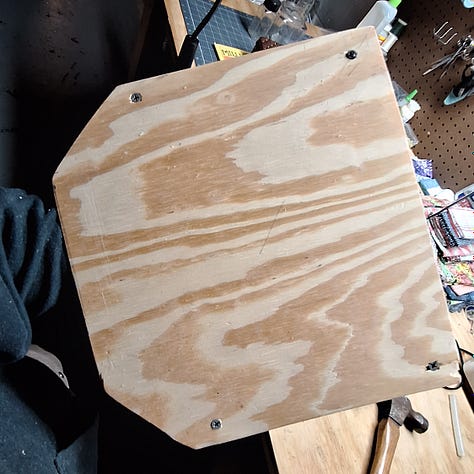
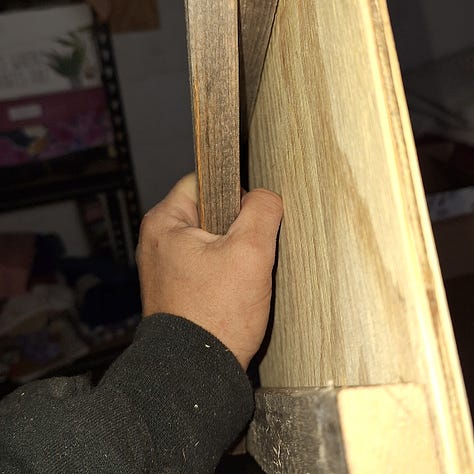
Notice in the first image that the two screws for the handle are not sunk all the way down. They don’t protrude to the front of the hawk and the last pic shows that my hand fits just fine in there.
Some days I have great hopes as to what I will accomplish on my own. Then there are days like yesterday where this was all I could muster. I have it in the bathroom with the other tools, ready to go for when my motivation aligns with my energy and funds.
(*a story for another time.)
I appreciate every single one of you who are following along on this journey. If you’d like to donate to this continued project, please click here. I have a hard enough time asking for help, but I know I can’t do this alone. Even if it’s just to help me get the right kind of trowel or supplies, every little bit is deeply appreciated. (I also have an Amazon wish list.) If not, can you share my writings with others who might enjoy the messes I make or who also have an interest in natural building? Thank you.


